🥺 YOU CAN POST DIFFERENT CONTENT TO ALL THE PLATFORMS ALL AT ONCE 🥴
Open the post creator
On the sidebar, click Posts.
This is your Posts dashboard. It’s empty for now - click the + icon to open the post creator.
The first page of the post creator is strictly internal. Here you pick which account to post on, what content to post, and when.
You can change all of this later, so if your creative juices aren’t flowing
from the get-go, don’t worry.
- YouTube and Instagram for video
- LinkedIn for company updates
- Discord to engage with the community
Pick the content
You might be on the go and not have the right content on hand. That’s why we have the media library - internal storage for all of your assets. Learn more about it here.
Click Select media.
Here you can see all of your media. Pick from what’s there or upload something new. We’ll add one new photo and pull the rest from the media library.
Set the time
Say your boss wants a post every 3 hours. Instead of sitting down every 3 hours, pick a time once and forget about it.
If you don’t set a time, or set one earlier than the current time, the post
publishes as soon as processing finishes.
Customize your content
In the bottom right corner, click Customize.
Your screen should now look like this:
Starting from the top:
- Title - internal only
- Date - when to post
Below that are platform icons - these act as tabs. Click between them and you’ll notice the fields change: YouTube has a Text field and a Description field, while Instagram only has Text.
Adjust the content per platform
Each tab has its own content field. Hover over a piece of content to delete it - for example, on the YouTube tab we keep only the video we want to post.
To post multiple images - for example a carousel on Instagram - just leave the
content untouched. We support multi-content on every platform that offers it.
You can also add content at this step.
Discord and Slack quirk
If you post to Discord or Slack without changing the sender, your message shows up like this:
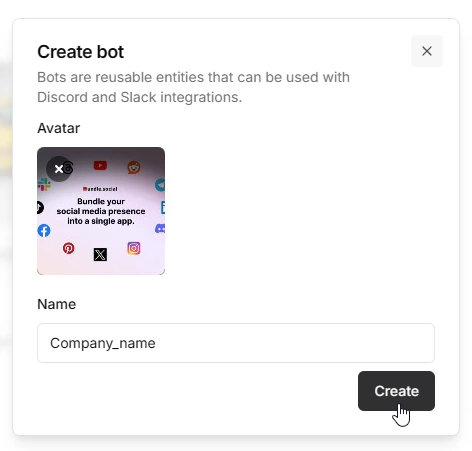
That’s fine if you don’t mind. If you do, click the + icon to create a new bot.
A popup appears - upload a bot cover photo and give it a name. The name is shown as the sender in Discord/Slack, so choose carefully. Then click Create.
Your bot is ready to reuse next time. Don’t forget to select the newly created bot from the dropdown.
Now your Discord sender looks like this:
Publish
With your captions and images in place, it’s time to post. Click Publish.
The page refreshes and you’re back on the Posts dashboard - this time with your post on it. If it includes a lot of content, like several large videos, the post may show a processing or scheduled status. Don’t worry, the rest will be published.
You can also switch to the calendar view to see your scheduled and published posts laid out by date.
Access the content
Click the post instance to see a list of links to each published post.
Here’s our LinkedIn post:
Deleting a post
For security reasons you can’t delete a published post from our app - you can only remove the post instance from bundle.social.
If you’d like to delete posts directly through bundle.social, send us an email. If enough people ask, we’ll enable that option - 50/50.